The Sorcerer Kings are making waves in the Conquest meta, and their heavy hitters have finally started arriving from reinforcements!
I want to take a second to thank our sponsor, Para-Bellum Games, who was kind enough to send me an advanced review copy of the kit. So I will be unboxing it for you all today!
And while I am thinking about our sponsor, don’t forget that you can save 10% on your Conquest purchases by using our affiliate links and discount code (JTSWARGAMING) below. When you do, we get a cut of anything you buy on the site and that goes a long way to supporting our content!
USA/CAN Store: bit.ly/3sjT7Ak
EU/RoW Store: bit.ly/3qEqcGH
Alright, lets start off with the box…
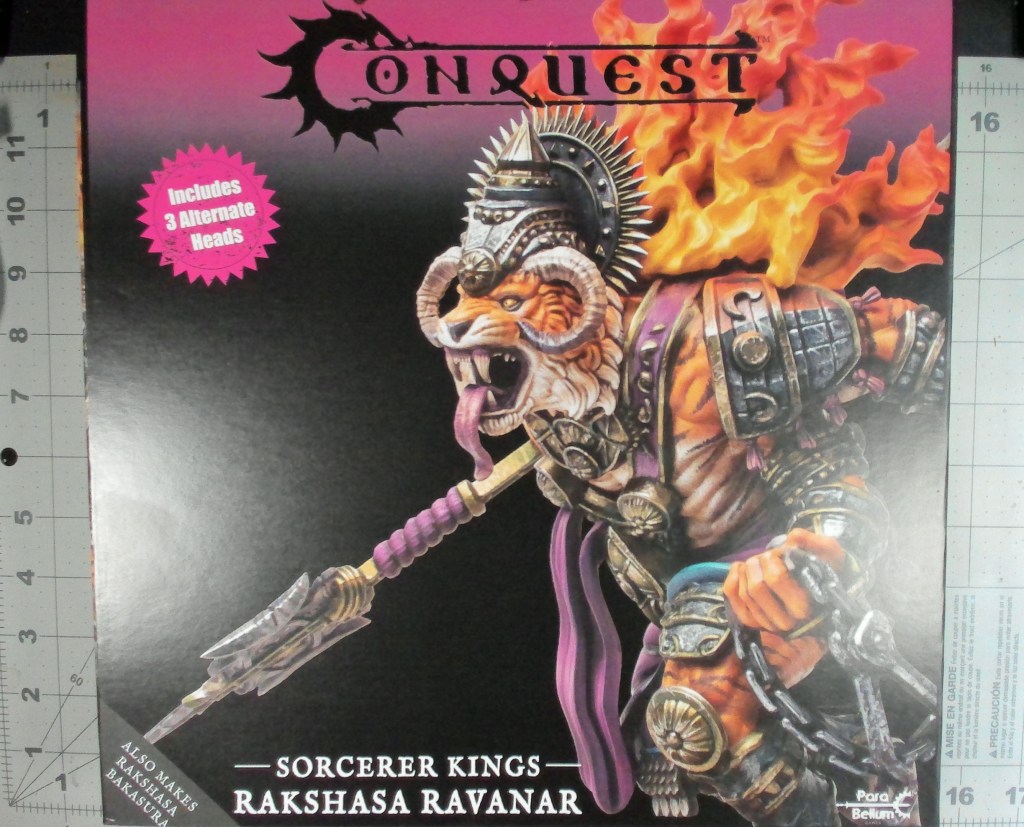
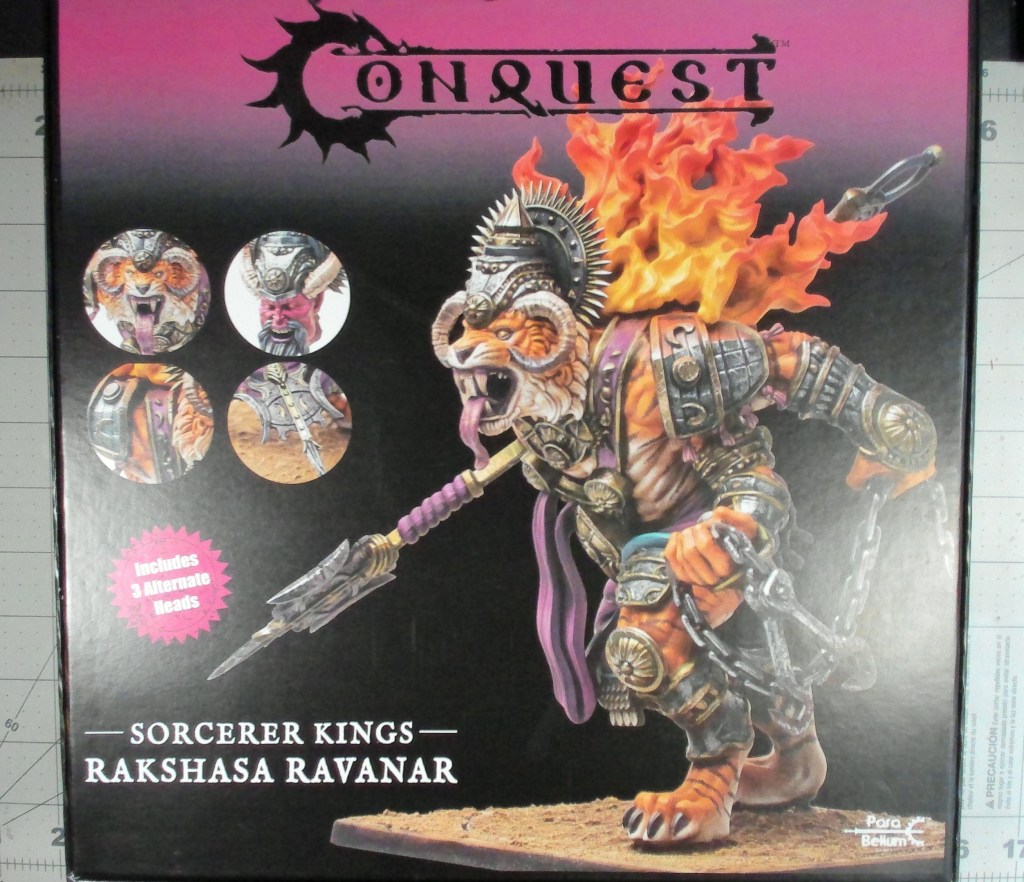
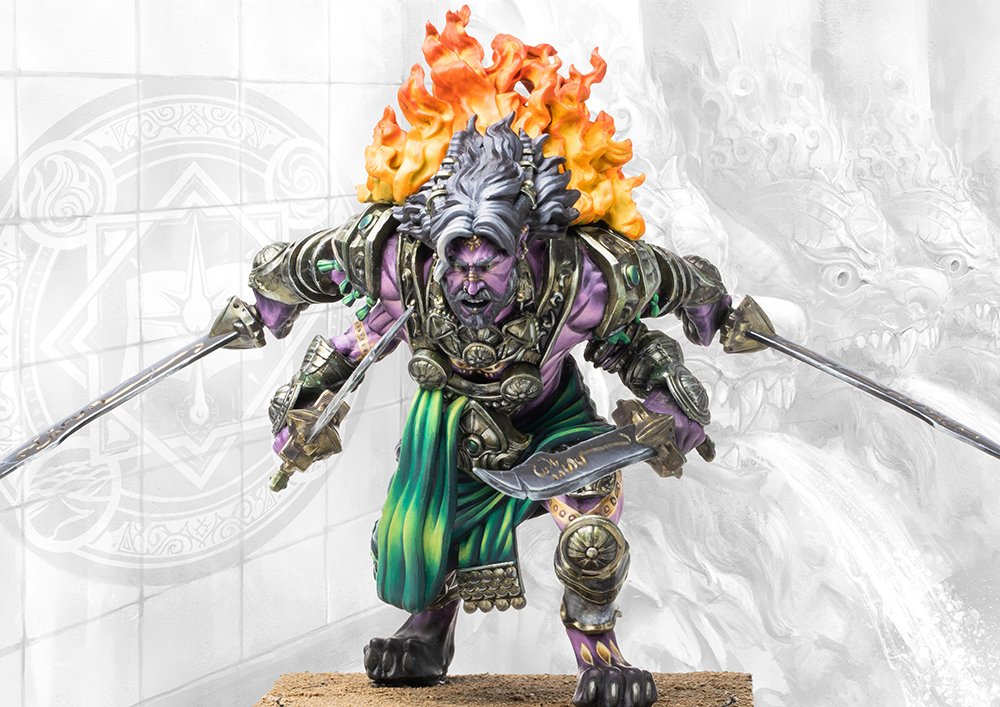
…it is massive. As in it is the size of a small board game. Beautiful photography of the Bakasura and Ravanar features on the front and back respectively. It will definitely look great on a display shelf; which I plan to do as soon as I have enough living space to have a proper recording studio.
For all of you keen-eyed readers who have started to catch on, this is a dual kit that includes all of the parts needed to build one of either heavy hitter! It includes the arm options for both builds and three heads to choose from! While the main body for each variant is mono-pose, swapping around the heads changes up the look enough for anyone looking to buy more than one kit.
So let’s crack this box open and see what you get for $129.99 USD…
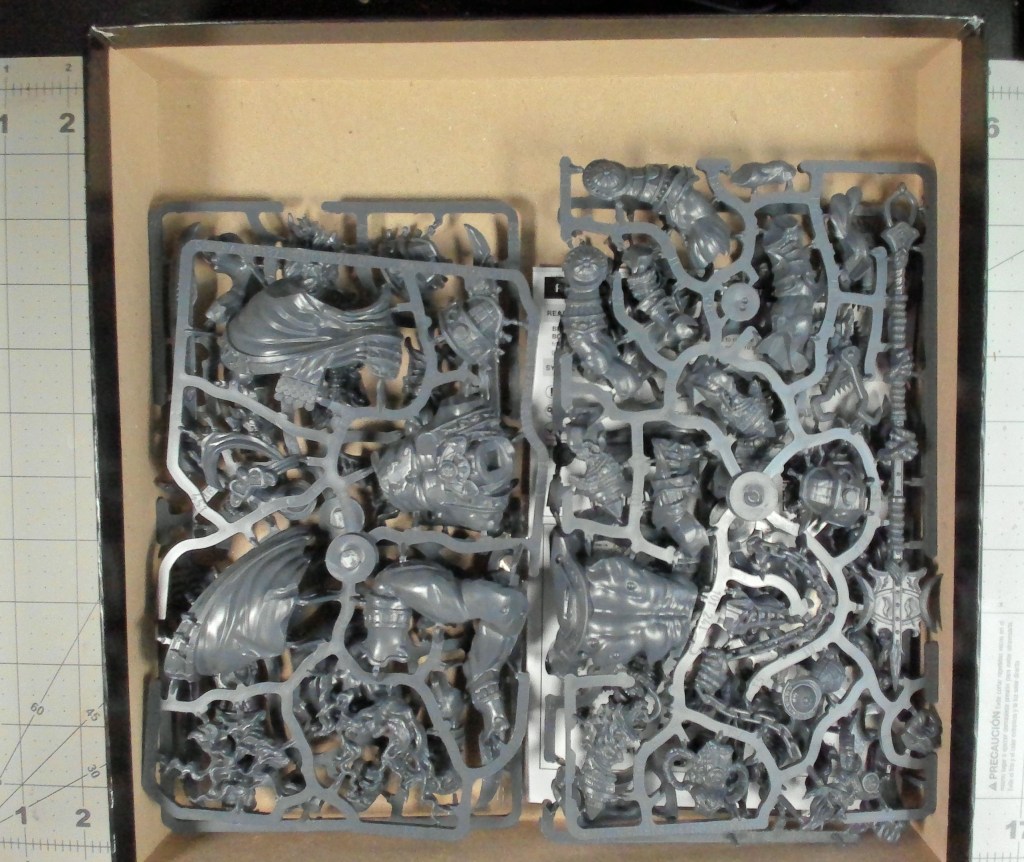
Inside we have:
- Four sprues
- Fold-out Instruction Pamphlet
- Monster Base and Stand
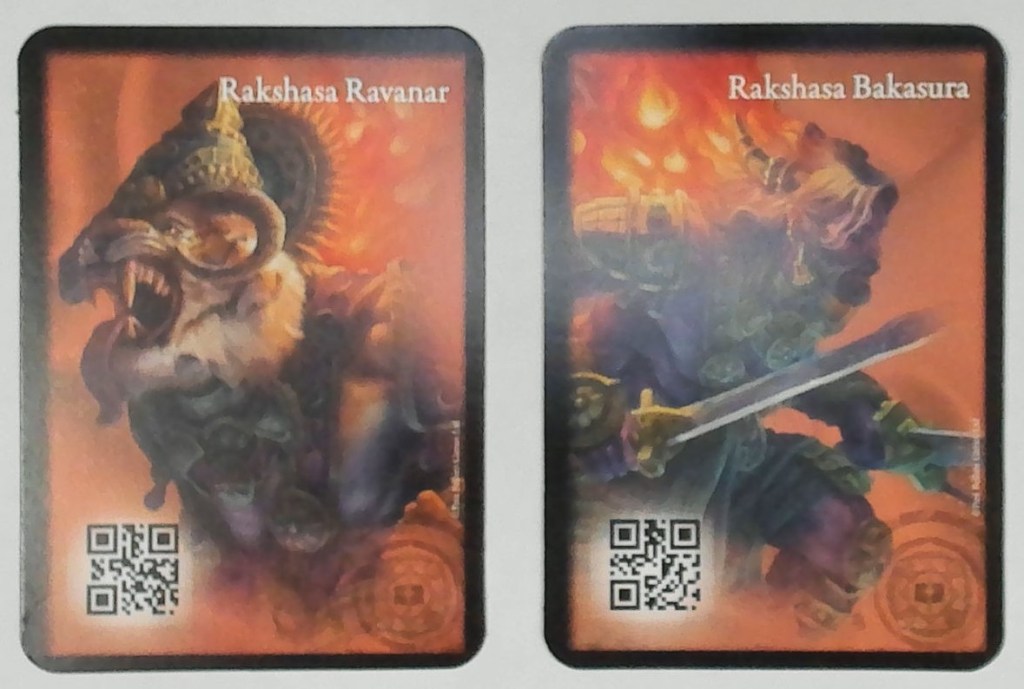
- Unit Cards for both Variants
So first up, lets see those sprues up close!
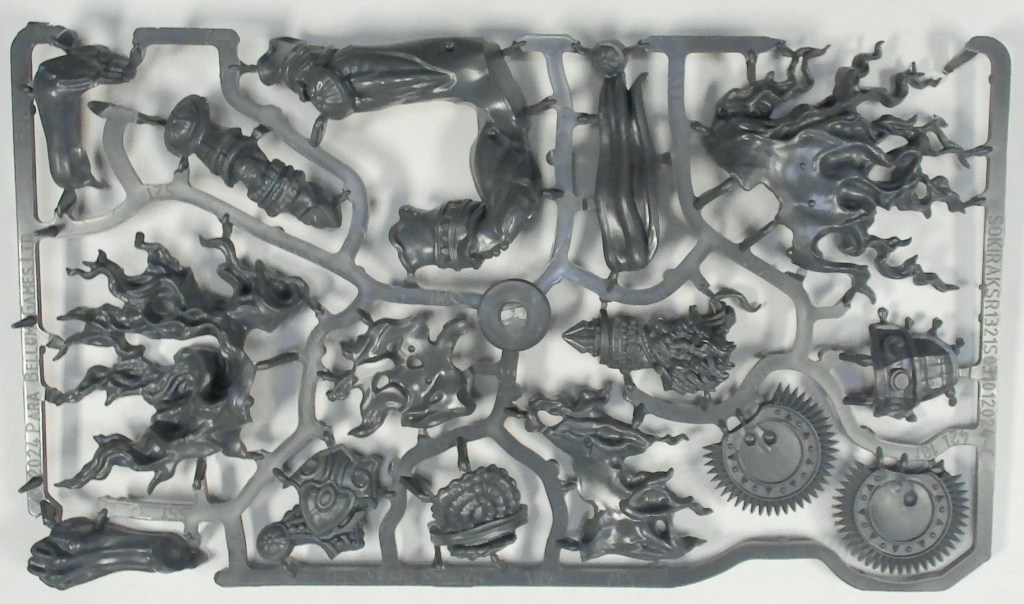
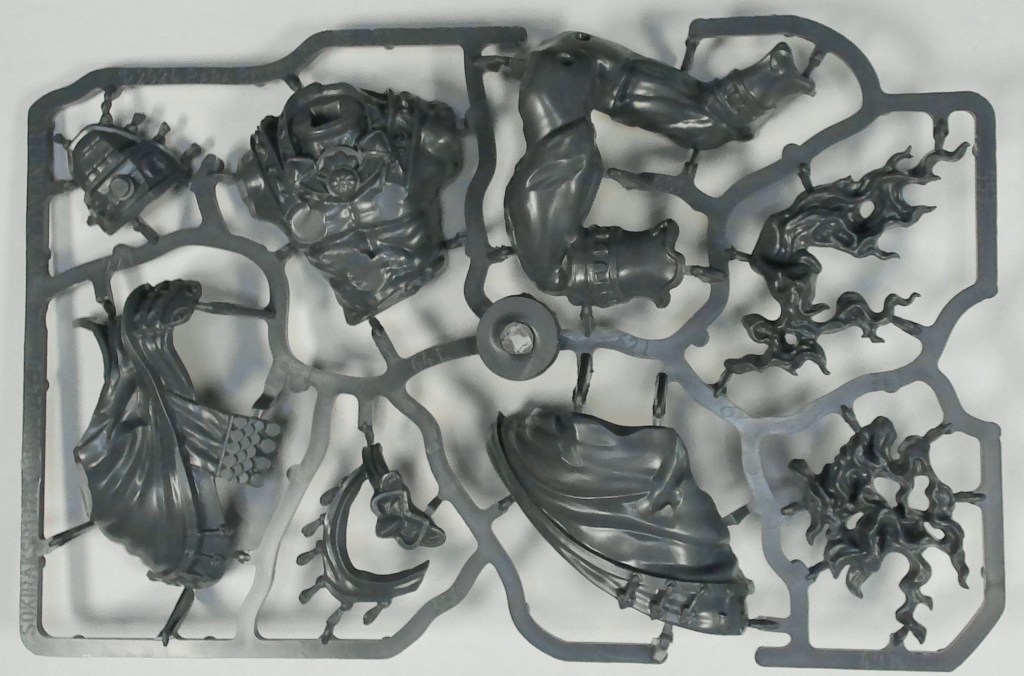
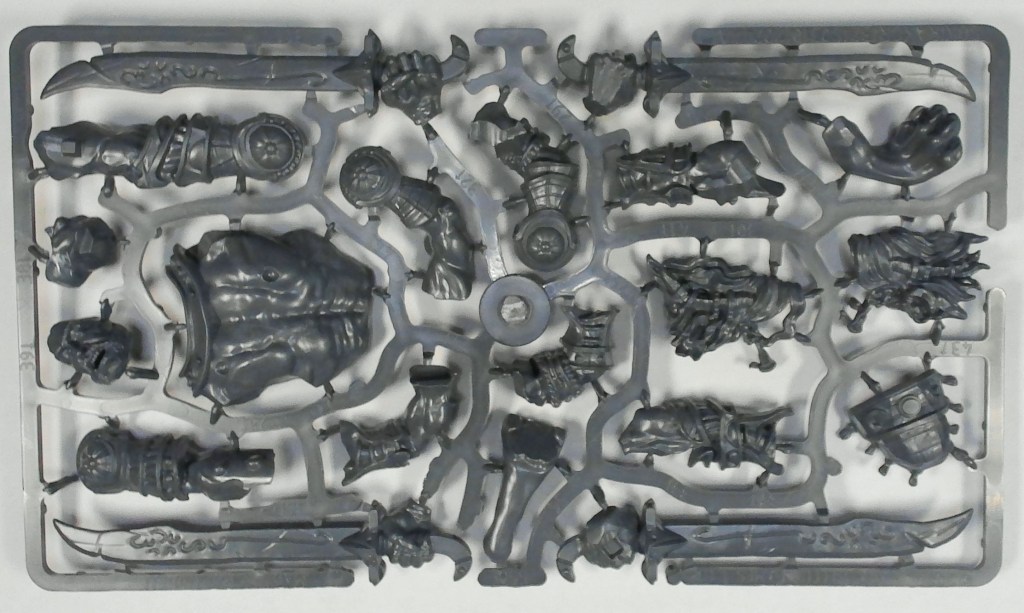
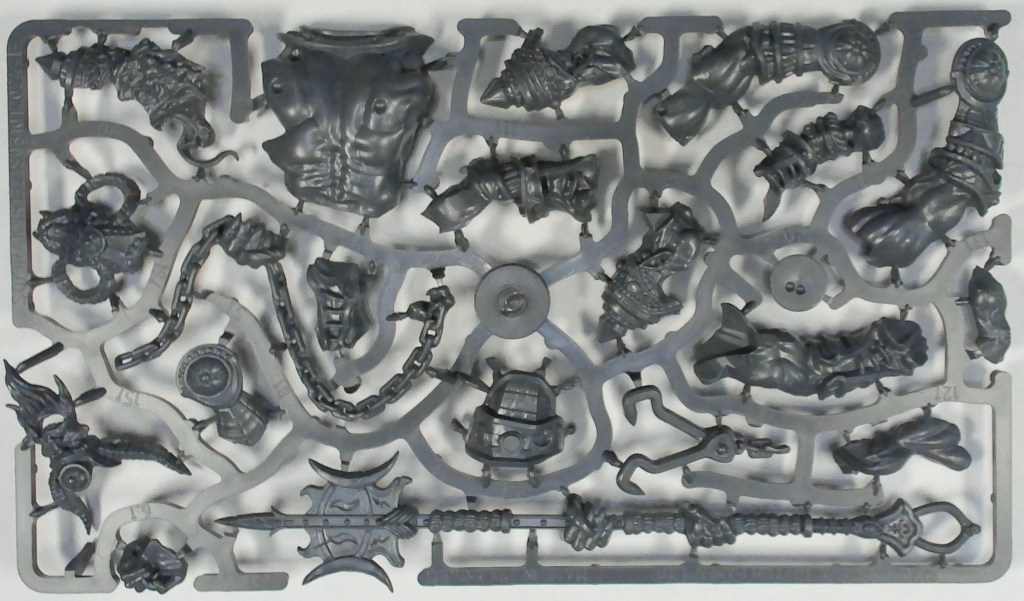
Plastic glue fans rejoice! The kit is made with polystyrene which is great for huge models like these. Getting a welded bond will make sure that your model doesn’t fall apart while it is being handled without the need for pinning!
The details are fairly crisp, and given the size, should be simple and easy to paint highlights and use washes for added depth. There are some softer details present, but not enough for it to cause a massive issue while painting.
Also, there are some mold lines that will need to be scraped off prior to assembly. If you wait until after assembly, you may have some trouble accessing these areas. I recommend cleaning each piece before gluing it as you go through the build process. On a model this big, those mold lines will definitely show up in your final paint job if you don’t take care of them!
The sprues are labelled with a numbering system that corresponds to the images on the instruction pamphlet, making assembly a breeze.
Speaking of the instructions…
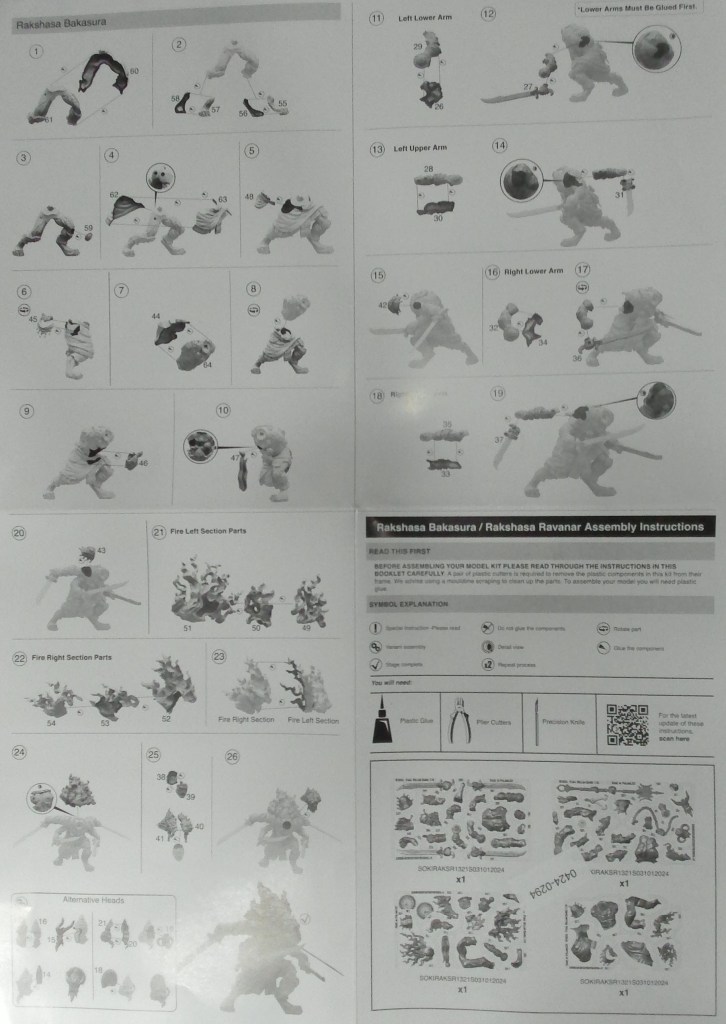

Everything is pretty clear making for a pretty easy build process. One step that will be a little tricky is assembling the flames on the Rakshasa’s back. I highly recommend that you dry fit these parts before gluing them!
The only major bummer is that kit is not magnet friendly. The arms are molded to fit onto the back following the natural curves without a keying system. Further complicating things, the back is unique to each variant. Where there is a will, there is a way, but prepare for some frustration if you wanted to attempt magnetizing the arm options.
Lastly we have the unit cards, which feature some beautiful artwork:
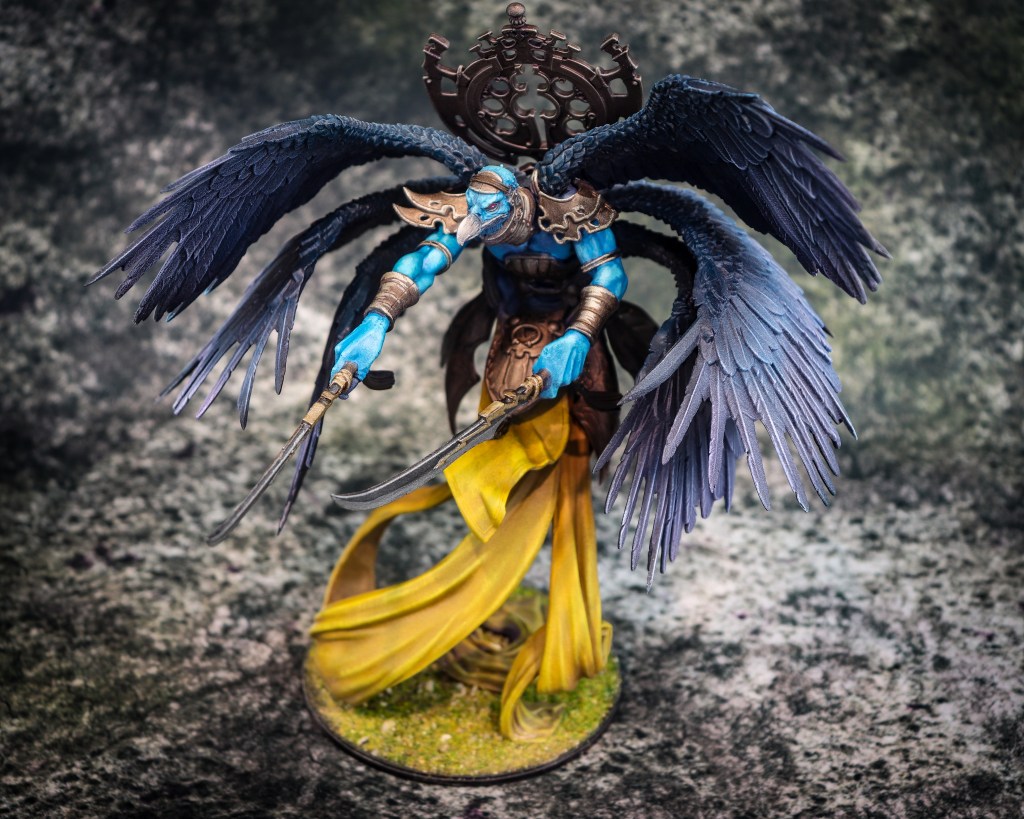
For my build, I went with the Ravanar variant. The Ravanar is focused more on damaging brutes and monsters while the Bakasura is a dedicated character duelist. I will probably end up buying a second kit though so I can run both profiles at the same time.
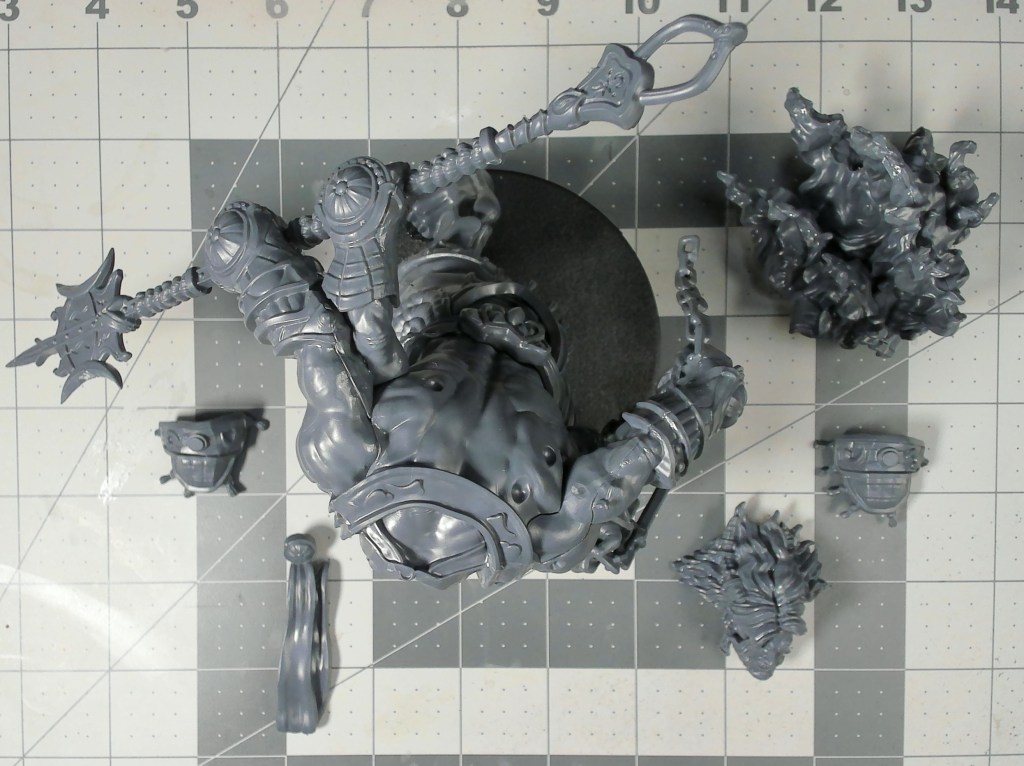
Note that I built the model in a few sub-assemblies to make painting easier! Keeping the flames unattached will speed up your painting considerably!
That’s all for today folks. If you need help deciding which variant will work best in your army, make sure you check out our faction review here!


Leave a comment